|
AFBR-S50 API Reference Manual v1.6.6
AFBR-S50 Time-of-Flight Sensor SDK for Embedded Software
|
|
AFBR-S50 API Reference Manual v1.6.6
AFBR-S50 Time-of-Flight Sensor SDK for Embedded Software
|
The provided example projects can be run on the STM32 targets (STM32F401RE) using the STM32Cube IDE.
Execute the following steps to get the example projects up and running. Please also refer to the STM32CubeIDE documentation by STM in case of any trouble.
[INSTALL_DIR]\Device\Projects\) are provided as zip-file and will be copied into the STM32CubeIDE workspace. The projects downloaded or cloned from the AFBR-S50 GitHub repository are already unpacked an must be imported but not copied into the STM32CubeIDE workspace (otherwise the project references may become invalid).In order to run provided project, execute the following steps:
Download and install the STM32CubeIDE:
Get Software and select and download the correct installer.Import the project archive files:
Welcome PageMenu > File > Import...General > Existing Projects into Workspace and click NextBrowse... in the Select archive file section[INSTALL_DIR]\Device\Projects\ (default is C:\Program Files (x86)\Broadcom\AFBR-S50 SDK\Device\Projects\AFBR_S50_Example_STM32F04RE.zip) and click OpenBrowse... in the Select root directory section[REPOSITORY_ROOT]\Projects\STM32CubeIDE\AFBR_S50_Example_F401RE) and click Select FolderNextand disable the check at Copy projects into Workspace. (Otherwise, the references to the source files will be messed up!) 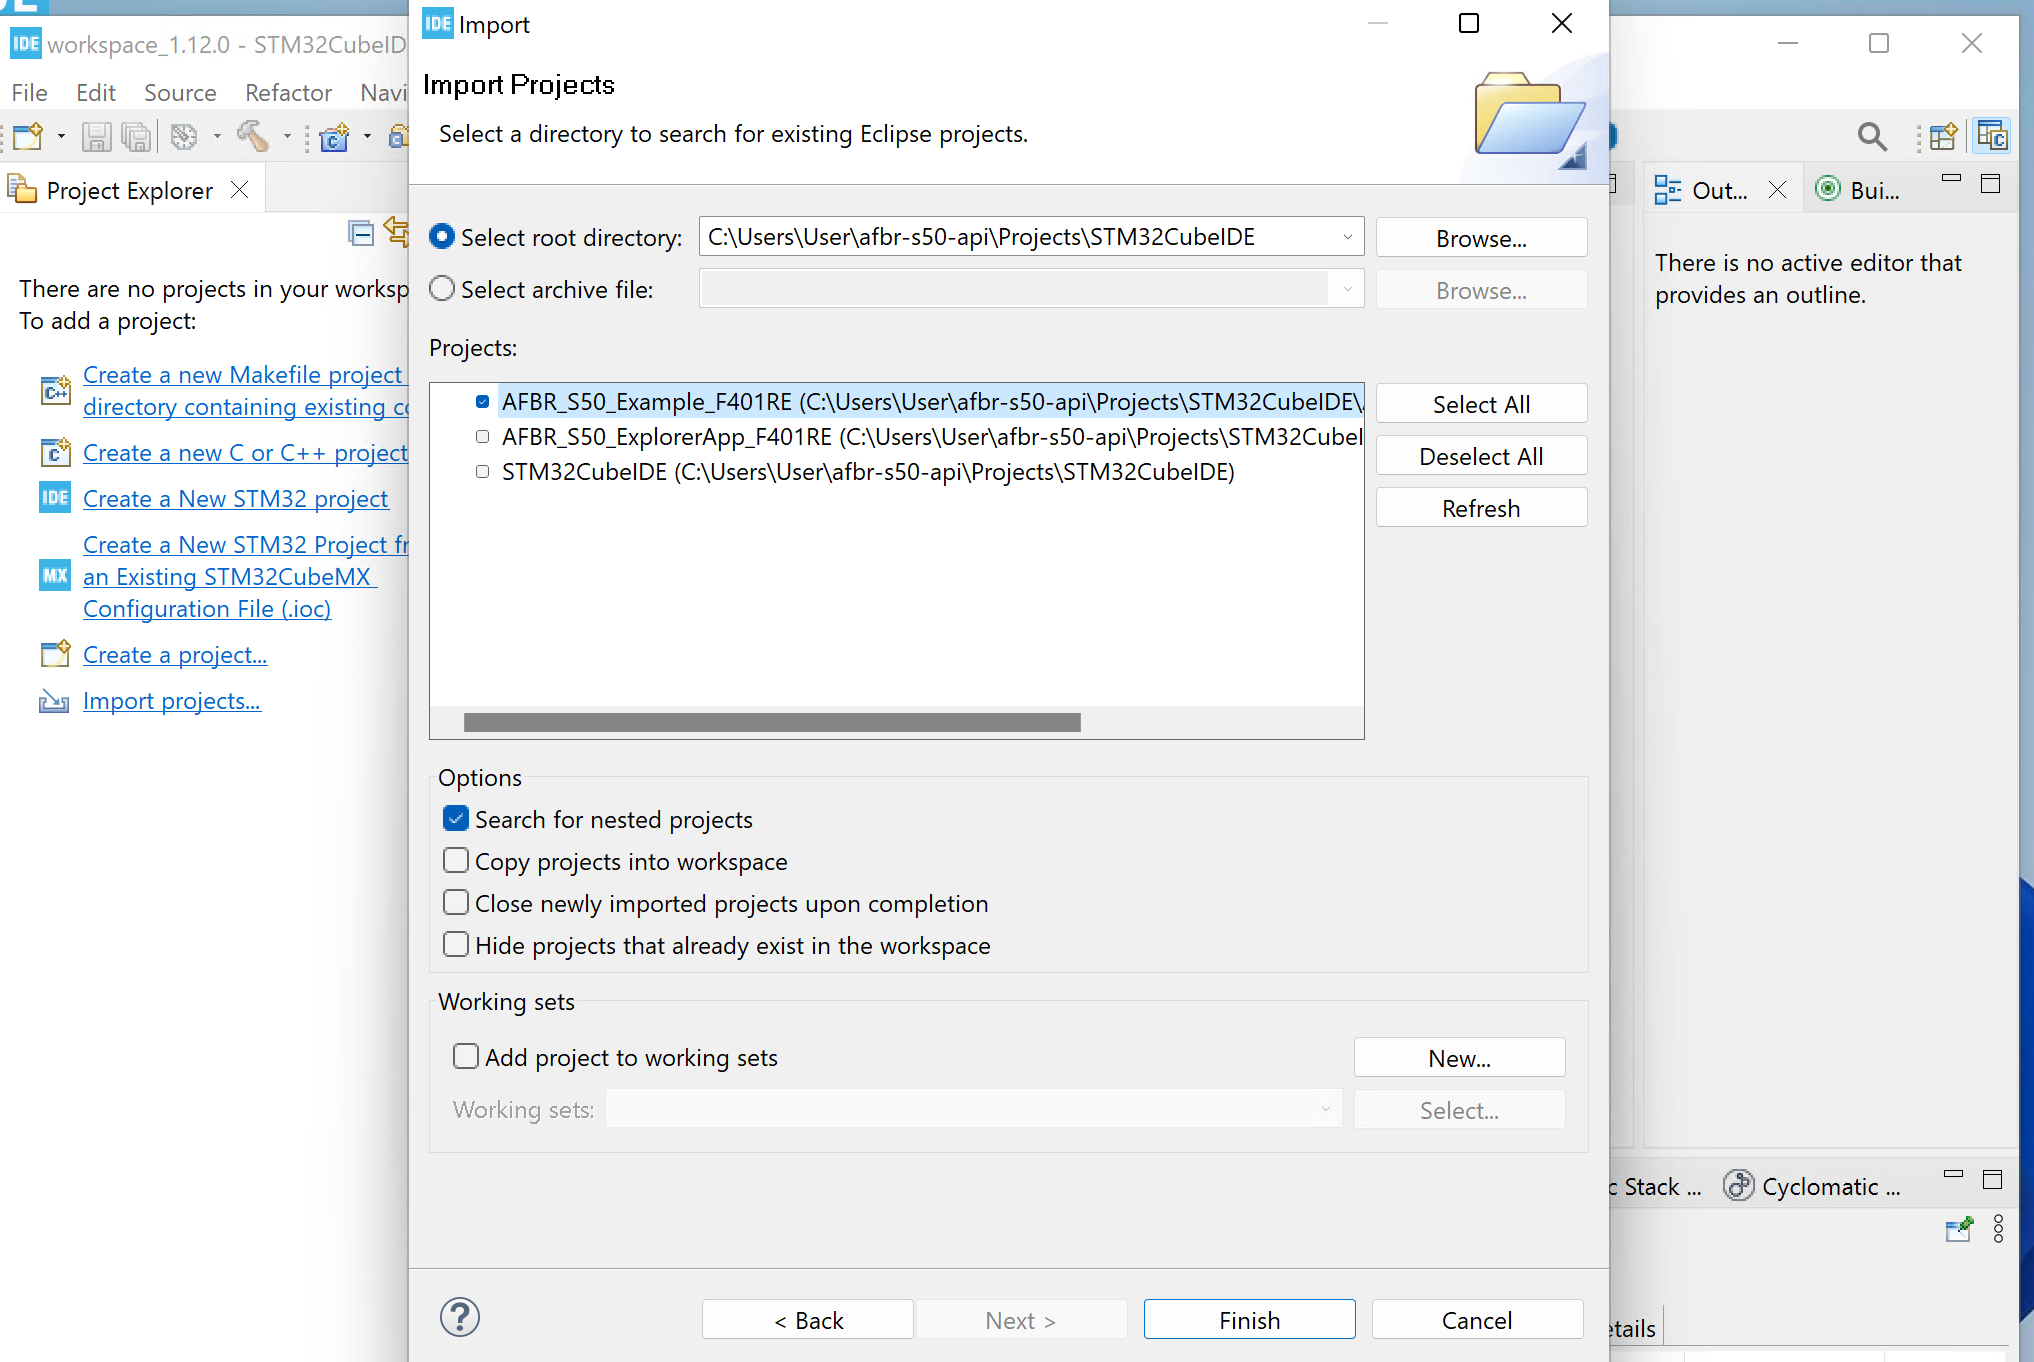
FinishProject Explorer and select the project to build.Menu -> Project -> Build Project to build the project.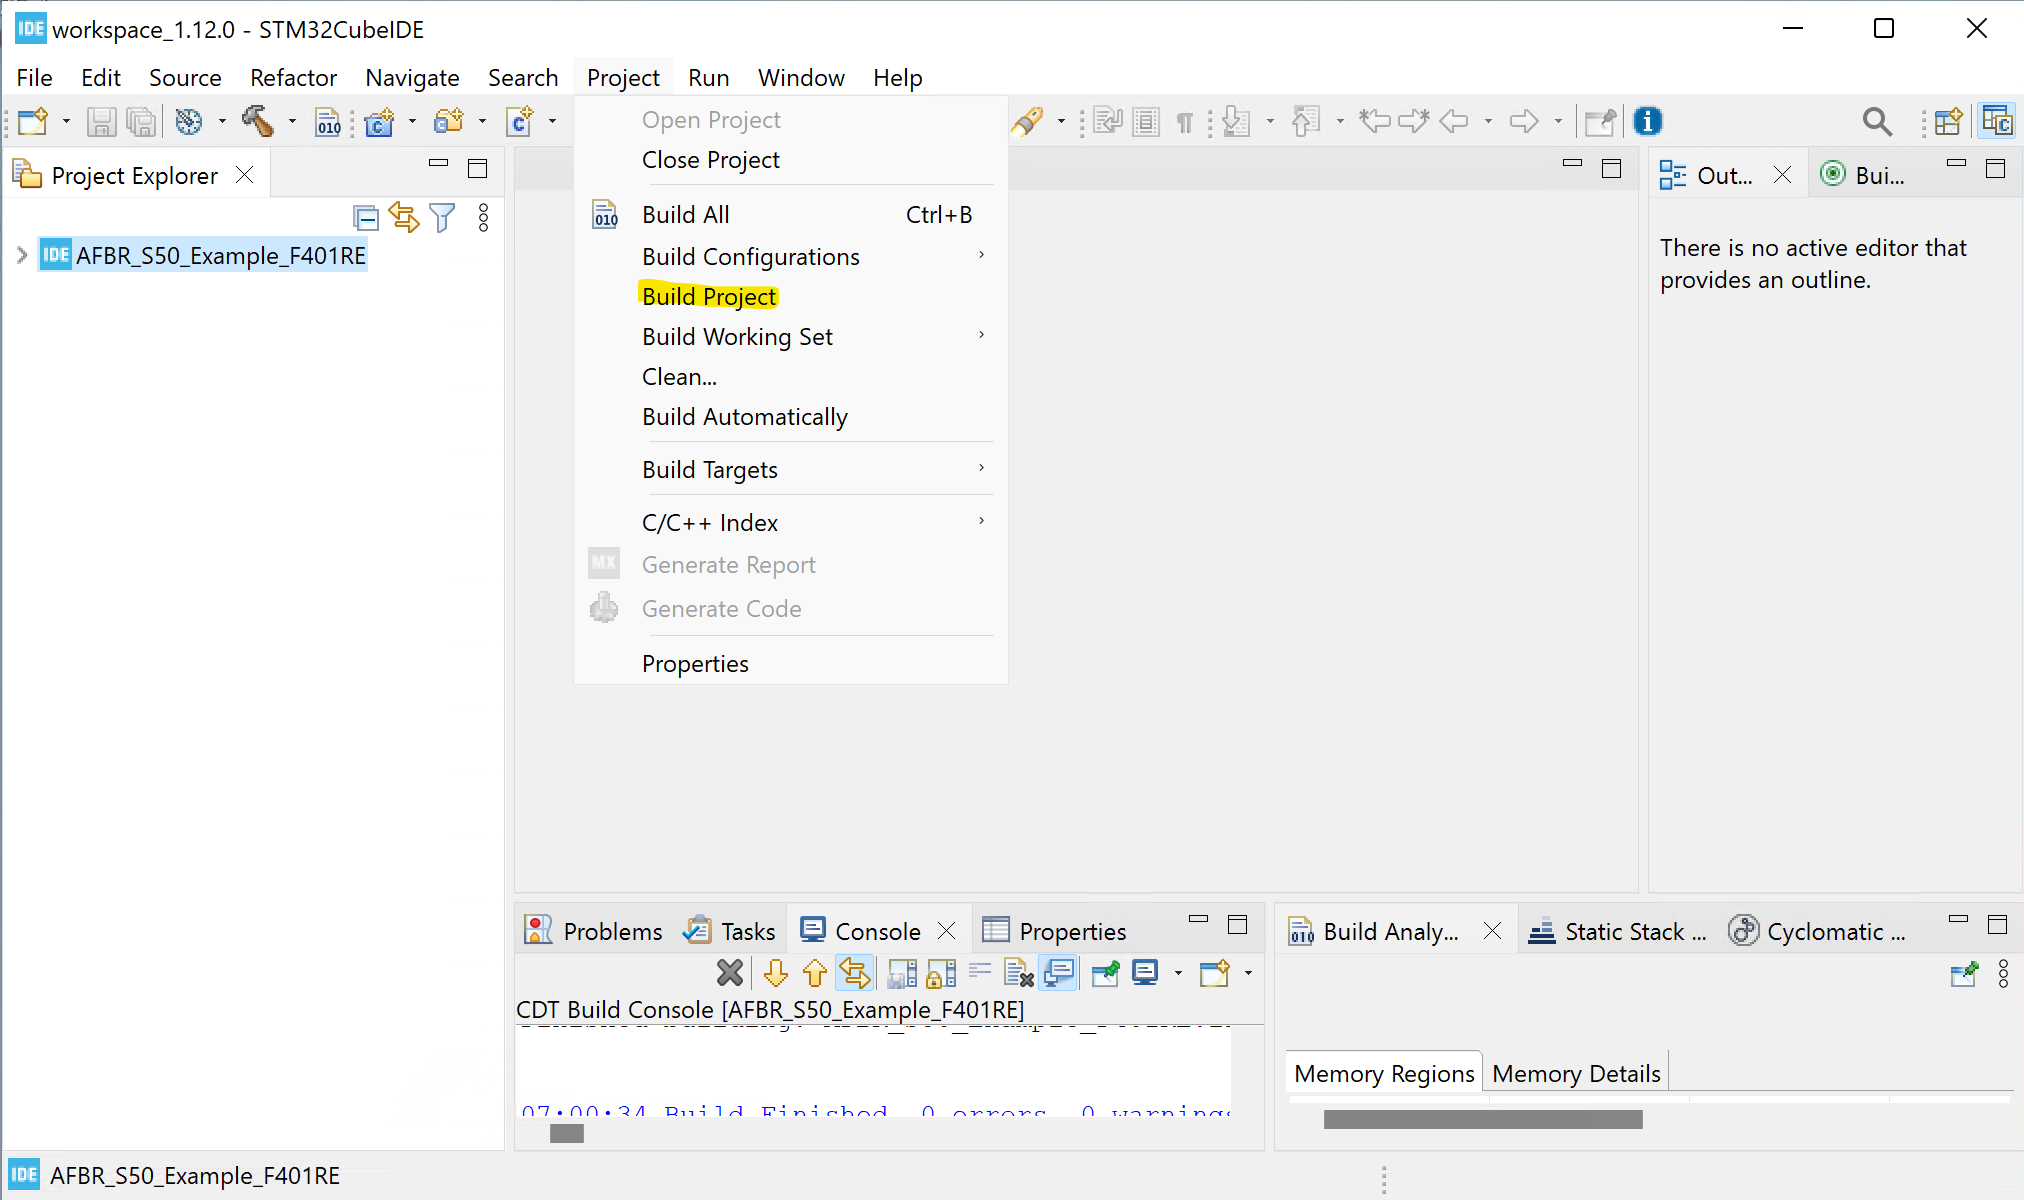
Project Explorer of the STM32CubeIDE.Run > Debug As > STM32 C/C++ Application.OK (Everything should be setup correctly by default). 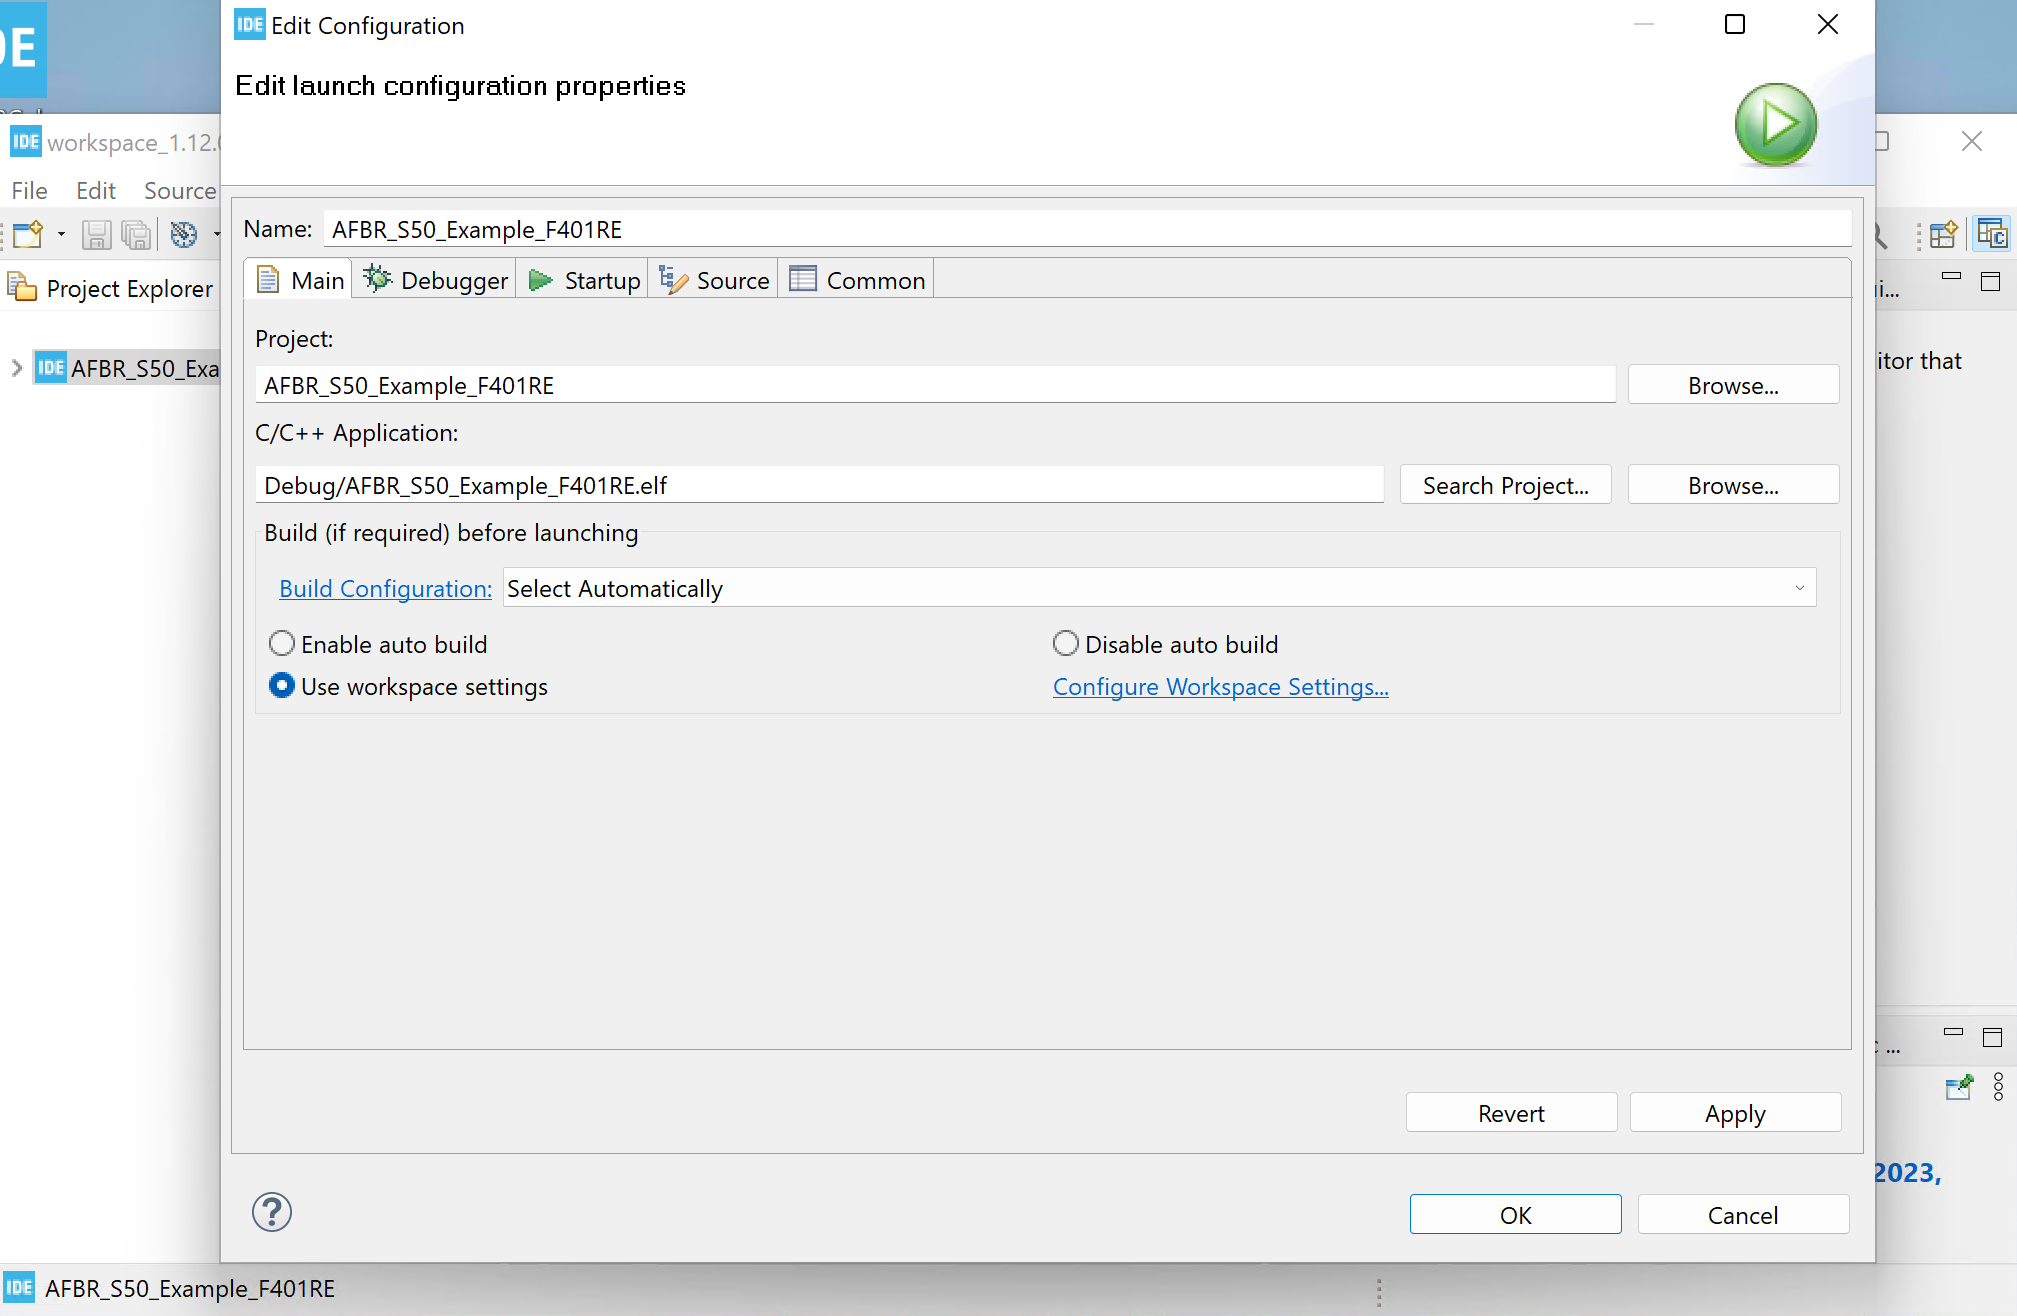
main() function, hit the Resume button.Follow the steps in the Serial (UART) Connector section to connect to the board via UART.
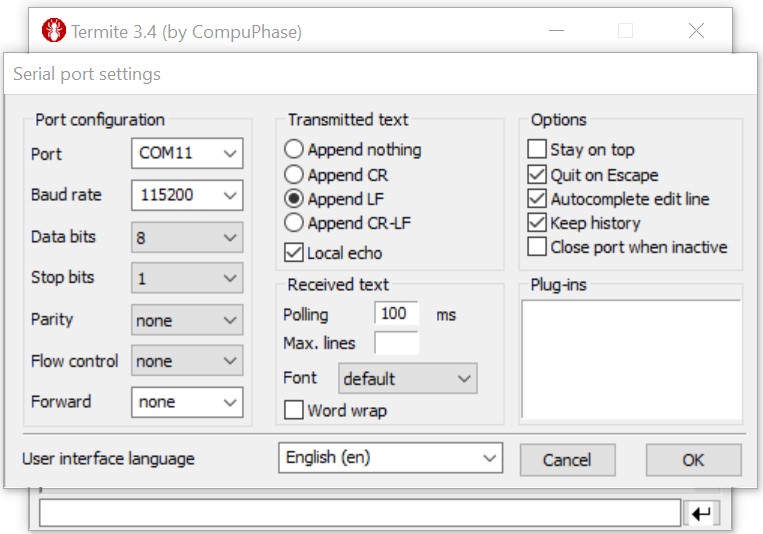
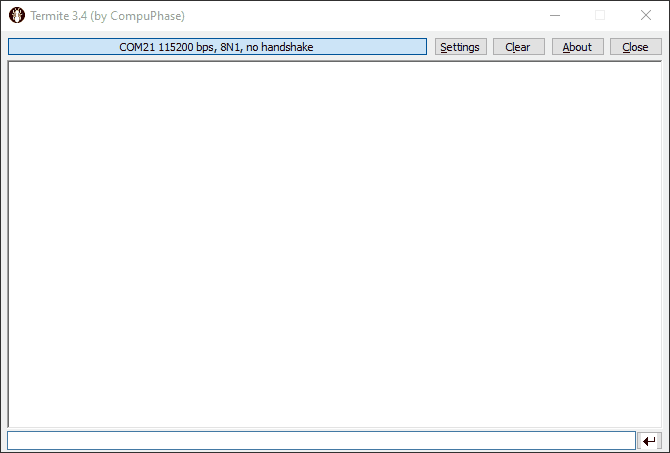
Display the measurement values on a PC via an UART terminal:
| Baud rate | Data Bits | Stop Bits | Parity | Flow Control |
|---|---|---|---|---|
| 115200 bps | 8 | 1 | none | none |